Estimated Read Time: 3 minutes
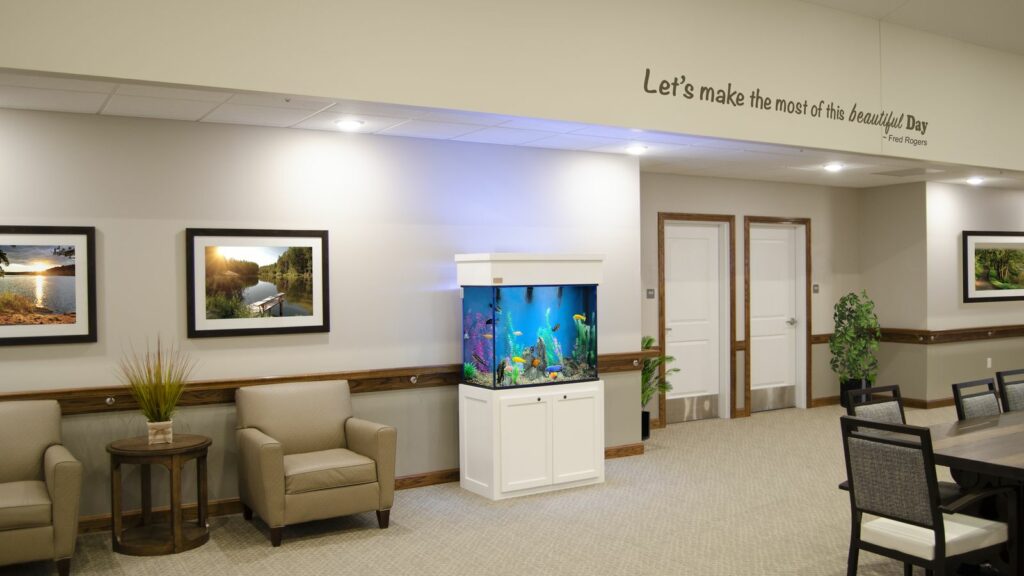
Have you decided on a Serenity Aquarium for your facility? Or, are you still searching for the perfect fish tank?
Regardless, once you find your favorite design, the next steps are delivery and aquarium installation, which we take care of for you!
What is all done during an installation?
How can you prepare for our arrival with your aquarium?
We have the answers so you know exactly what to expect!
Preparing for Your Aquarium Installation

The first step is to choose your desired location for the aquarium.
For us to install your unit, two conditions must be met:
- The aquarium must be within 100ft of a water source.
- There must be a grounded outlet in that desired location.
We use a 100ft hose to fill up your fish tank.
We will attach the hose to a faucet and use water pressure to run it through and into the tank.
This will be important for future fish tank cleanings, as we use the hose to drain and refill the fish tank.
Secondly, you’ll need a grounded outlet next to your aquarium so we can plug in equipment like lighting attachments, the heater, the filter, etc.
Provide Enough Space for Entering the Building
We will have the aquarium plus extra equipment for installation, so we’ll need adequate space to get through the doors.
Each aquarium is different in style and size, so not all units ship the same.
A double doorway without a center divider will work just fine.
A loading dock with a garage door will work best.
If you don’t have either of these, please reach out to our customer service team.
They’ll help determine the width needed to get the aquarium components inside.
Provide Space for Installation
We ask that you clear out the space where you want your new aquarium.
This includes furniture, items hanging on the wall, fragile decor, or anything else that could inhibit our ability to install your fish tank.
The extra space is needed because of the additional equipment we use for the aquarium installation.
A majority of these tools will not be present during future service visits.
The Aquarium Installation Process

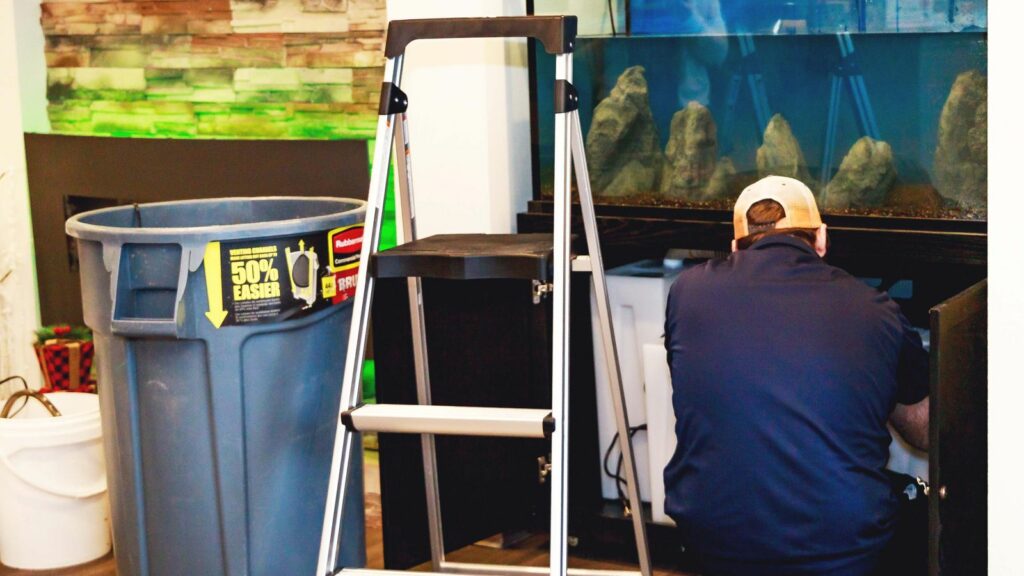
A custom fish tank installation should take between two to four hours, depending on the size of the unit.
Our installation process includes the setup of:
- Fish tank, stand, and canopy
- Aquarium Seamless Sump®, heater, lighting, UV sterilizer, and timer
- Rock wall, gravel, plants
- Automatic Feeder with fish food
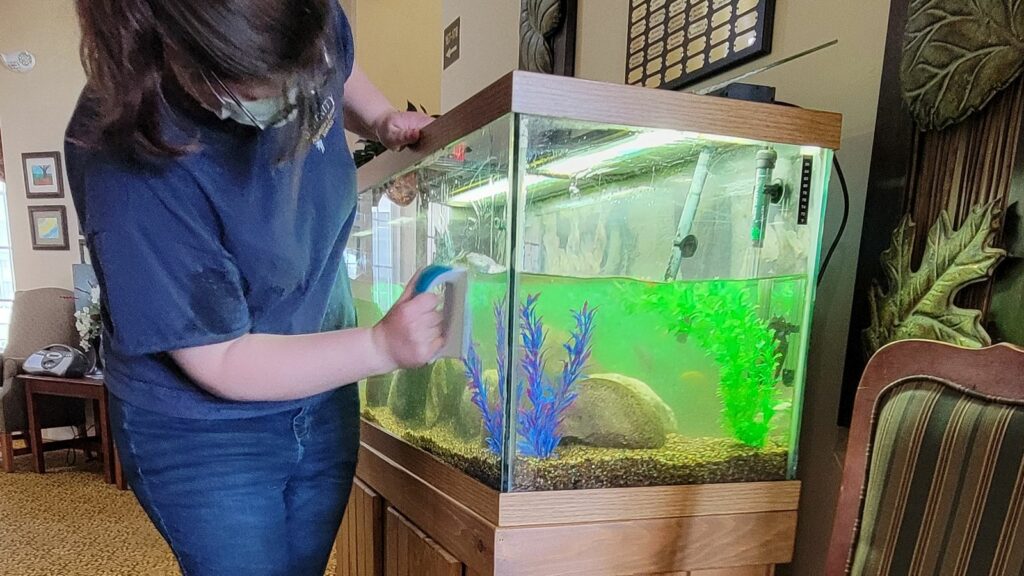
- Provide Mag-Float glass/algae scraper
If you have any questions about our custom aquarium installation process, please contact us.
If not, your service tech will be happy to answer any questions during the installation.
Finishing Up
After your unit is all setup, your service tech will review and explain some important information about the aquarium installation and maintenance.
These topics include:
- Tank Cycling
- Water care
- Algae control
- Fish Replacement
- Procedure for Mechanical Issues
- Timer/Lighting
- Positioning of electric cords and power sources
- Designate a person at the facility for brief maintenance between visits
- Provide a copy of the Serenity Welcome Packet
- Take a photo of the finished aquarium
These topics are mainly for educational purposes with just a few responsibilities for you.
Further Maintenance

Throughout the life of your Serenity Aquarium, the work required by you will be limited.
We do ask that someone at your facility handle a few quick tasks throughout the week:
- Use the mag-float algae scraper 2-3 times per week to control algae growth.
- If any fish pass away during the life of the aquarium, we require that you remove them from the tank as soon as possible to prevent any further loss of livestock. We provide you with a net with a long handle to complete this task.
- Keep an eye on the water level in the sump tubs and fill them to the max line once every two weeks.
Your service tech will explain the process of each task before leaving your facility.
When they return for their first cleaning service visit, your fish tank will get an in-depth cleaning, along with equipment maintenance and fish health checks.